Mastering the Art of Small Room Electrical Wiring
As we navigate the complexities of life, even the smallest rooms can pose significant challenges. The intricacies of electrical wiring can make or break the ambiance, functionality, and overall livability of a space. In this comprehensive guide, we will delve into the world of small room electrical wiring, uncovering the seven essential NEC electrical code requirements, best practices for creating a functional layout, and provide step-by-step instructions to ensure a safe and efficient wiring installation.
Understanding the Basics of Small Room Electrical Wiring
Electrical wiring in small rooms involves careful planning, precise execution, and a strong focus on safety. From designing the circuit layout to testing and final installation, each step is crucial in ensuring a home is powered safely and securely. The initial concept involves creating a layout that accounts for the placement of switches, outlets, and lights, taking into consideration the room's size, shape, and usage.
- Building codes and regional regulations: Ensure compliance with local electrical codes and obtain necessary permits before embarking on any electrical project.
- Room layout and design: Consider the room's purpose, size, and shape to determine the optimal placement and number of outlets, switches, and lights.
- Electrical load calculations: Accurately determine the electrical load requirements to avoid overloading or undersizing the electrical system.
- Grounding and safety standards: Adhere to local and national electrical safety standards to prevent electrical shocks, fires, and other hazards.
- Tools and materials: Use high-quality tools and materials to ensure a safe and efficient wiring installation.
- Professional assistance: Don't hesitate to seek the expertise of a licensed electrician for complex or high-risk electrical projects.
Step-by-Step Guide to Wiring a Small Room

As we can see from the illustration, Small Room Electrical Wiring has many fascinating aspects to explore.
Learning how to wire a small room is an achievable goal, especially with a basic understanding of electrical wiring principles. Follow these steps to ensure a safe and efficient wiring installation:
Step 1: Planning and Design
Determine the room's electrical load requirements, taking into account the number and types of devices, lighting, and appliances.
Step 2: Outlet and Switch Placement
Plot the optimal placement of outlets and switches, considering the room's layout, convenience, and safety.

Furthermore, visual representations like the one above help us fully grasp the concept of Small Room Electrical Wiring.
Choose the correct size and type of electrical cable and wire for the project, adhering to local and national electrical safety standards.
Step 4: Cable and Wire Installation
Run the cable and wire according to the planned layout, ensuring accuracy and safety throughout the installation process.
Step 5: Switch and Outlet Installation
Install switches and outlets according to the planned layout, connecting them to the electrical panel and ensuring proper functioning.
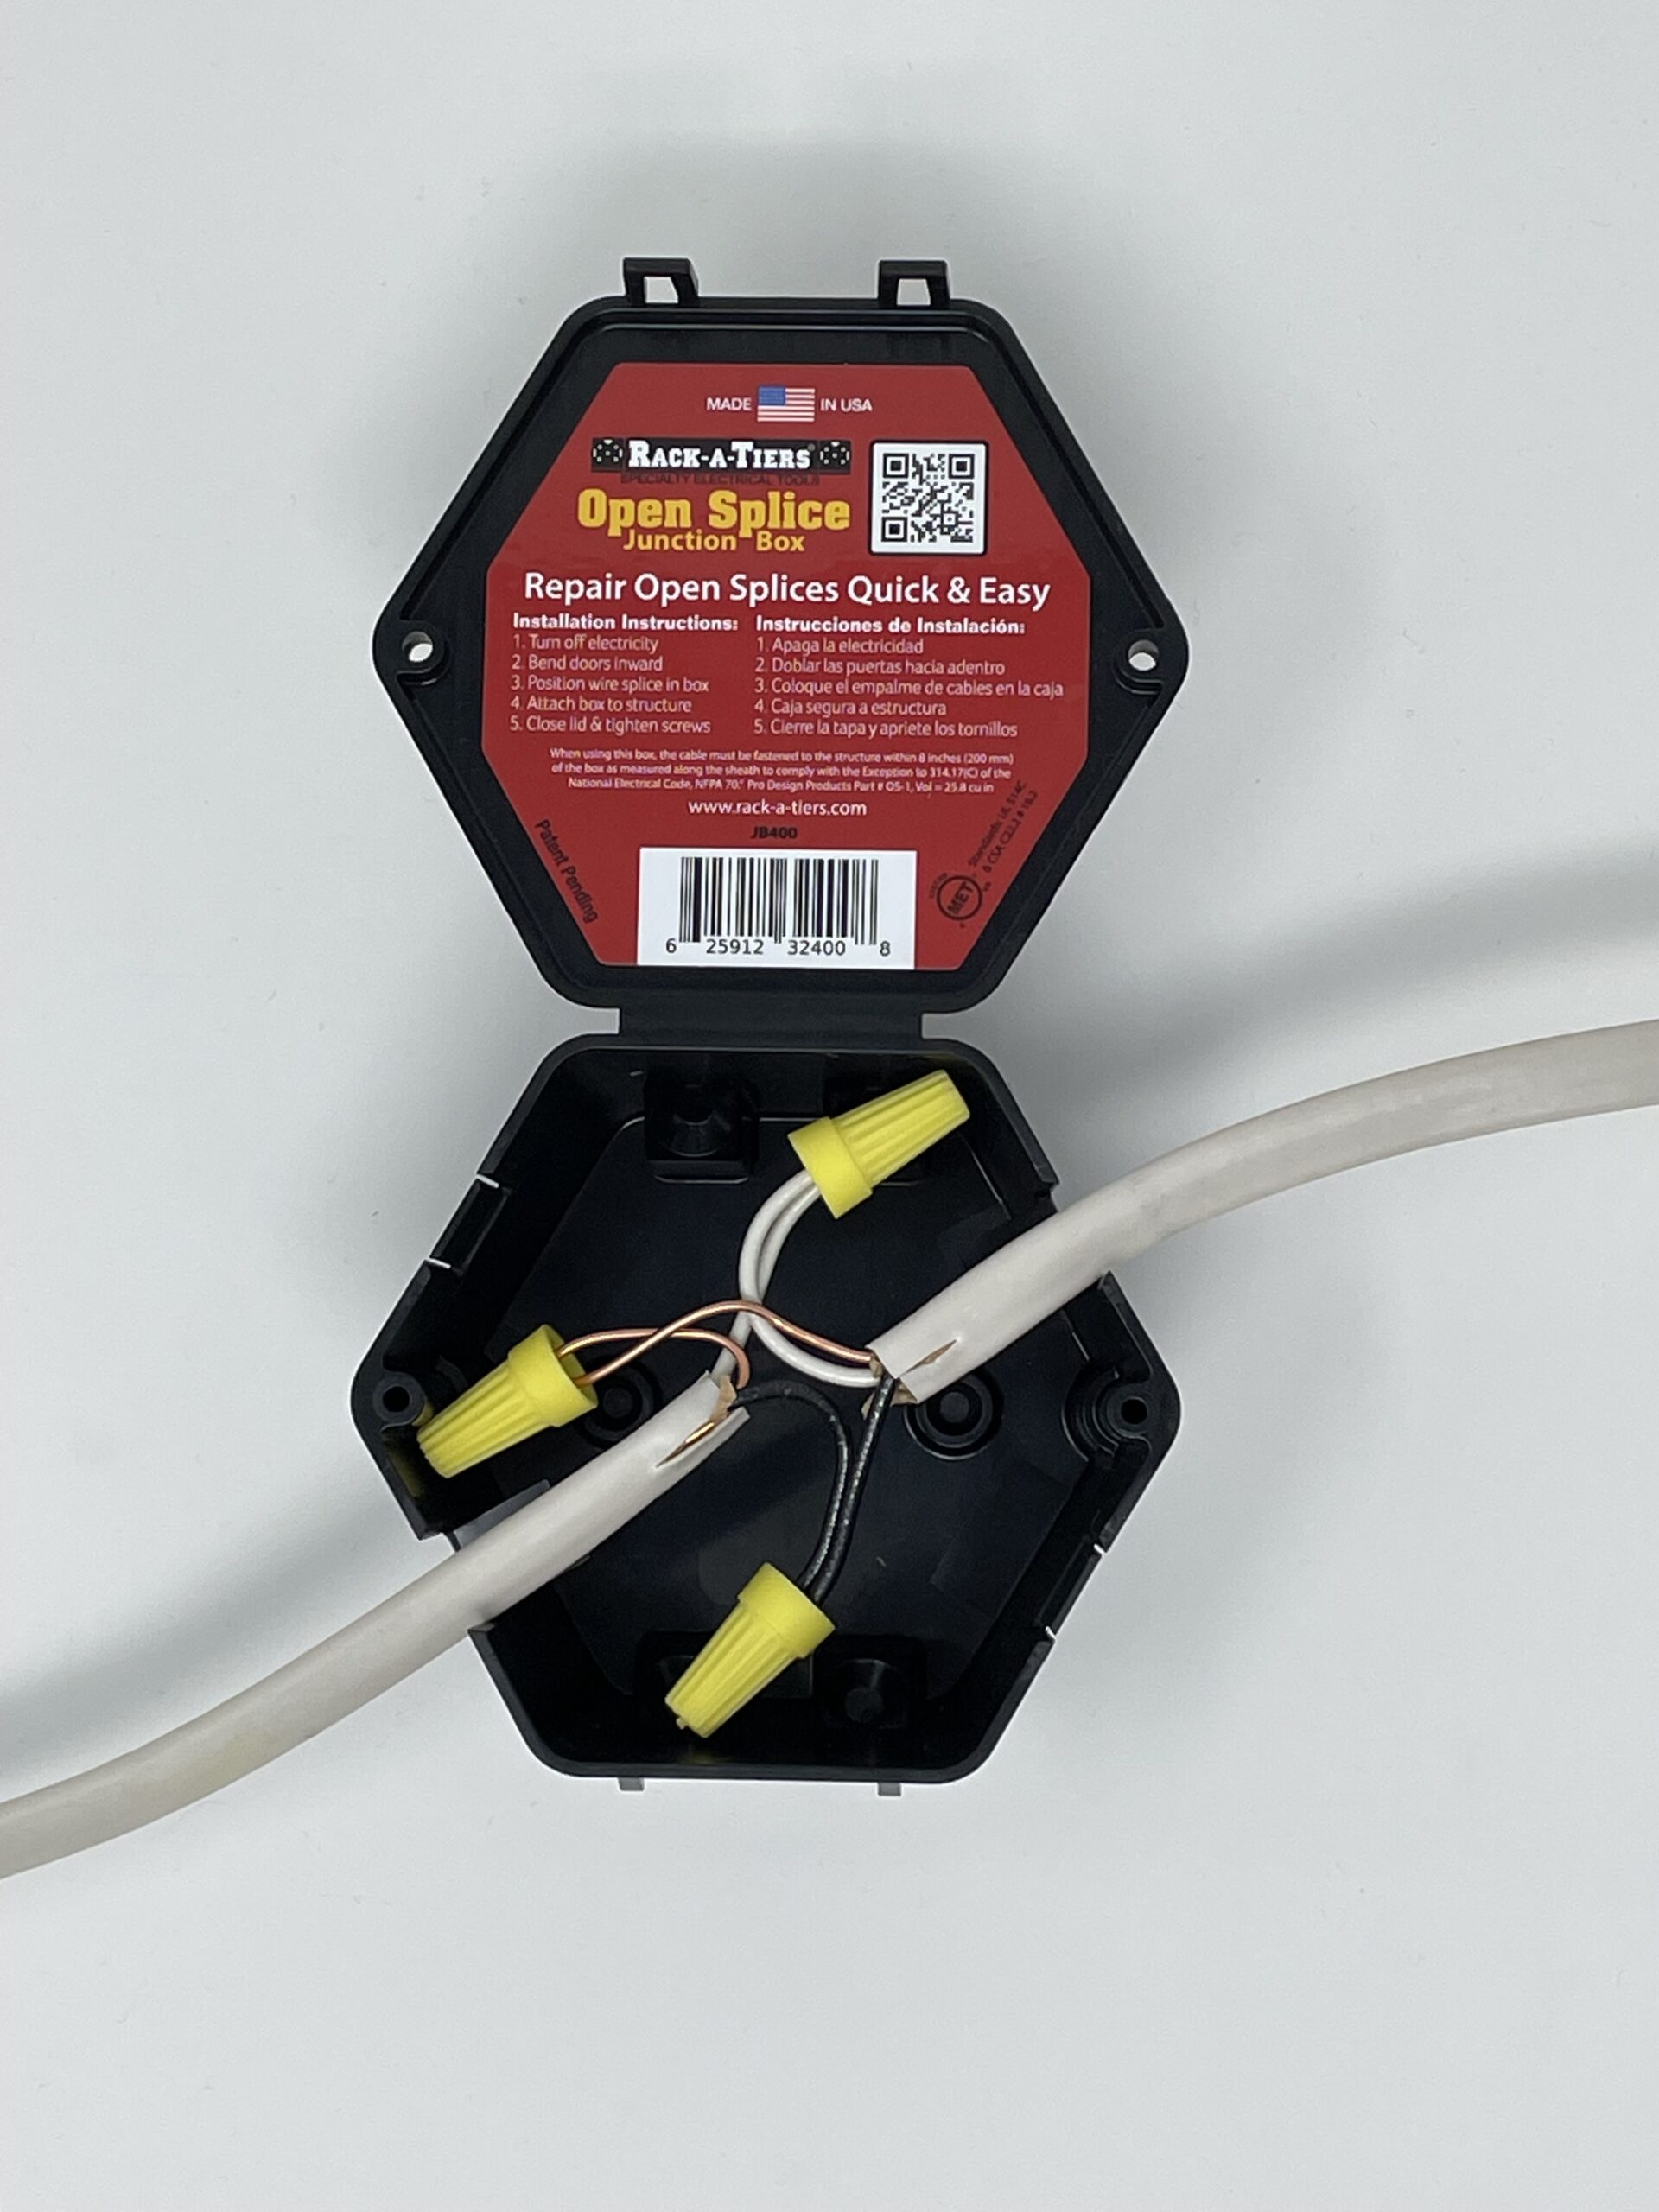
Such details provide a deeper understanding and appreciation for Small Room Electrical Wiring.
Conduct a thorough inspection to verify the safety and efficiency of the electrical wiring installation, testing all switches, outlets, and lighting devices.
Real-World Examples and Best Practices
Our team at [Your Company] shares the following tips and tricks to help you navigate the complexities of small room electrical wiring:
Conclusion
Mastering the art of small room electrical wiring requires patience, dedication, and a thorough understanding of electrical principles. By following these guidelines and best practices, you will be well-equipped to tackle even the most complex electrical projects, ensuring a safe and efficient wiring installation in your small room.


 | Family Handyman")


 - YouTube")


/tips-for-wiring-outlets-and-switches-1824668-hero-5c1c9847042c4caa9397bf5caa3d9661.jpg "How To Wire A Room | Bedroom Wiring Rough In (Beginners Guide For ...")


 Regulations (2020 ... - EMSD")
