Building Homemade Acoustic Panels: A Step-by-Step Guide
Are you tired of noisy rooms and poor sound quality? Do you want to improve the acoustics in your home studio, home office, or theater without breaking the bank? Building homemade acoustic panels is a great way to achieve professional-grade sound quality at a fraction of the cost of store-bought panels.
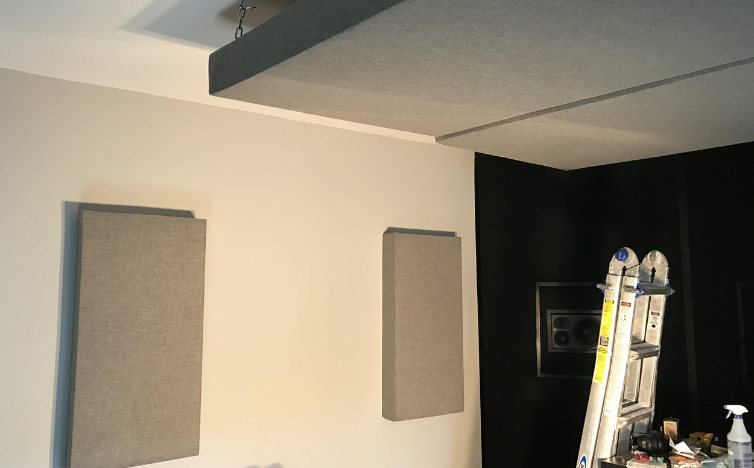
What are Acoustic Panels?
Acoustic panels are designed to absorb sound waves and reduce echo, reverberation, and noise in a room. They are essential for creating a professional-grade sound environment, whether you're recording music, watching movies, or making video calls. By using acoustic panels, you can improve the sound quality, reduce noise, and create a more comfortable and productive space.
Materials Needed
- Mineral wool insulation (e.g., Roxul or Rockwool)
- Fabric (e.g., cotton, polyester, or acoustic foam)
- Wooden frame (e.g., 2x4s or MDF)
- Wire mesh
- Hot glue gun
- Utility knife or scissors
- Measuring tape and straightedge

Such details provide a deeper understanding and appreciation for Building Homemade Acoustic Panels.
Step 1: Measure and Cut the Wood Frame
Measure and cut the wooden frame to the desired size, taking into account the size of the acoustic panel you want to create. For a standard 2x4 ft panel, cut two pieces of wood to 24 inches and two pieces to 48 inches.
Step 2: Attach the Wire Mesh
Attach the wire mesh to one side of the wooden frame using hot glue. This will provide a stable surface for the acoustic material to adhere to.
Step 3: Add the Acoustic Material
Such details provide a deeper understanding and appreciation for Building Homemade Acoustic Panels.
Cut the mineral wool insulation to the desired size and attach it to the wire mesh using hot glue. This will provide the acoustic material for the panel to absorb sound waves.
Step 4: Wrap the Panel with Fabric
Wrap the panel with fabric, using hot glue to secure the edges. This will provide a decorative cover for the acoustic panel and improve its aesthetic appeal.
Step 5: Attach the Back Panel
Attach the back panel to the wooden frame using hot glue. This will provide a stable surface for the panel to adhere to.

Step 6: Add the Final Touches
Trim any excess fabric or wood and add a coat of finish to the panel, if desired. Your homemade acoustic panel is now ready to use!
Conclusion
Building homemade acoustic panels is a cost-effective and creative way to improve the acoustics in your home studio, home office, or theater. By following these simple steps, you can create professional-grade sound quality without breaking the bank. Whether you're a musician, producer, or simply someone who wants to improve the sound in your home, building homemade acoustic panels is a great DIY project to try.
Benefits of Building Homemade Acoustic Panels
Whether you're a seasoned DIY enthusiast or a beginner, building homemade acoustic panels is a great way to improve the sound quality in your home studio, home office, or theater. With these simple steps, you can create professional-grade sound quality without breaking the bank. So, get started today and transform your space into a sonic sanctuary!


 - Instructables")

")


 - SoundAssured")


")

 - acousticsfreq.com")