Textured Ceiling Upgrade: Elevate Your Space with Style and Function
Are you ready to take your home to the next level? A textured ceiling upgrade is a fantastic way to add depth, character, and visual interest to any room. From popcorn ceilings to stomp brush and beyond, there are countless designs to choose from, each with its unique benefits and aesthetic appeal. In this article, we'll explore the world of textured ceilings, highlighting the benefits, popular styles, and expert tips for installing and maintaining them.
The Benefits of Textured Ceilings
Popular Textured Ceiling Styles
The world of textured ceilings is vast, with numerous styles to choose from. Here are some popular options:
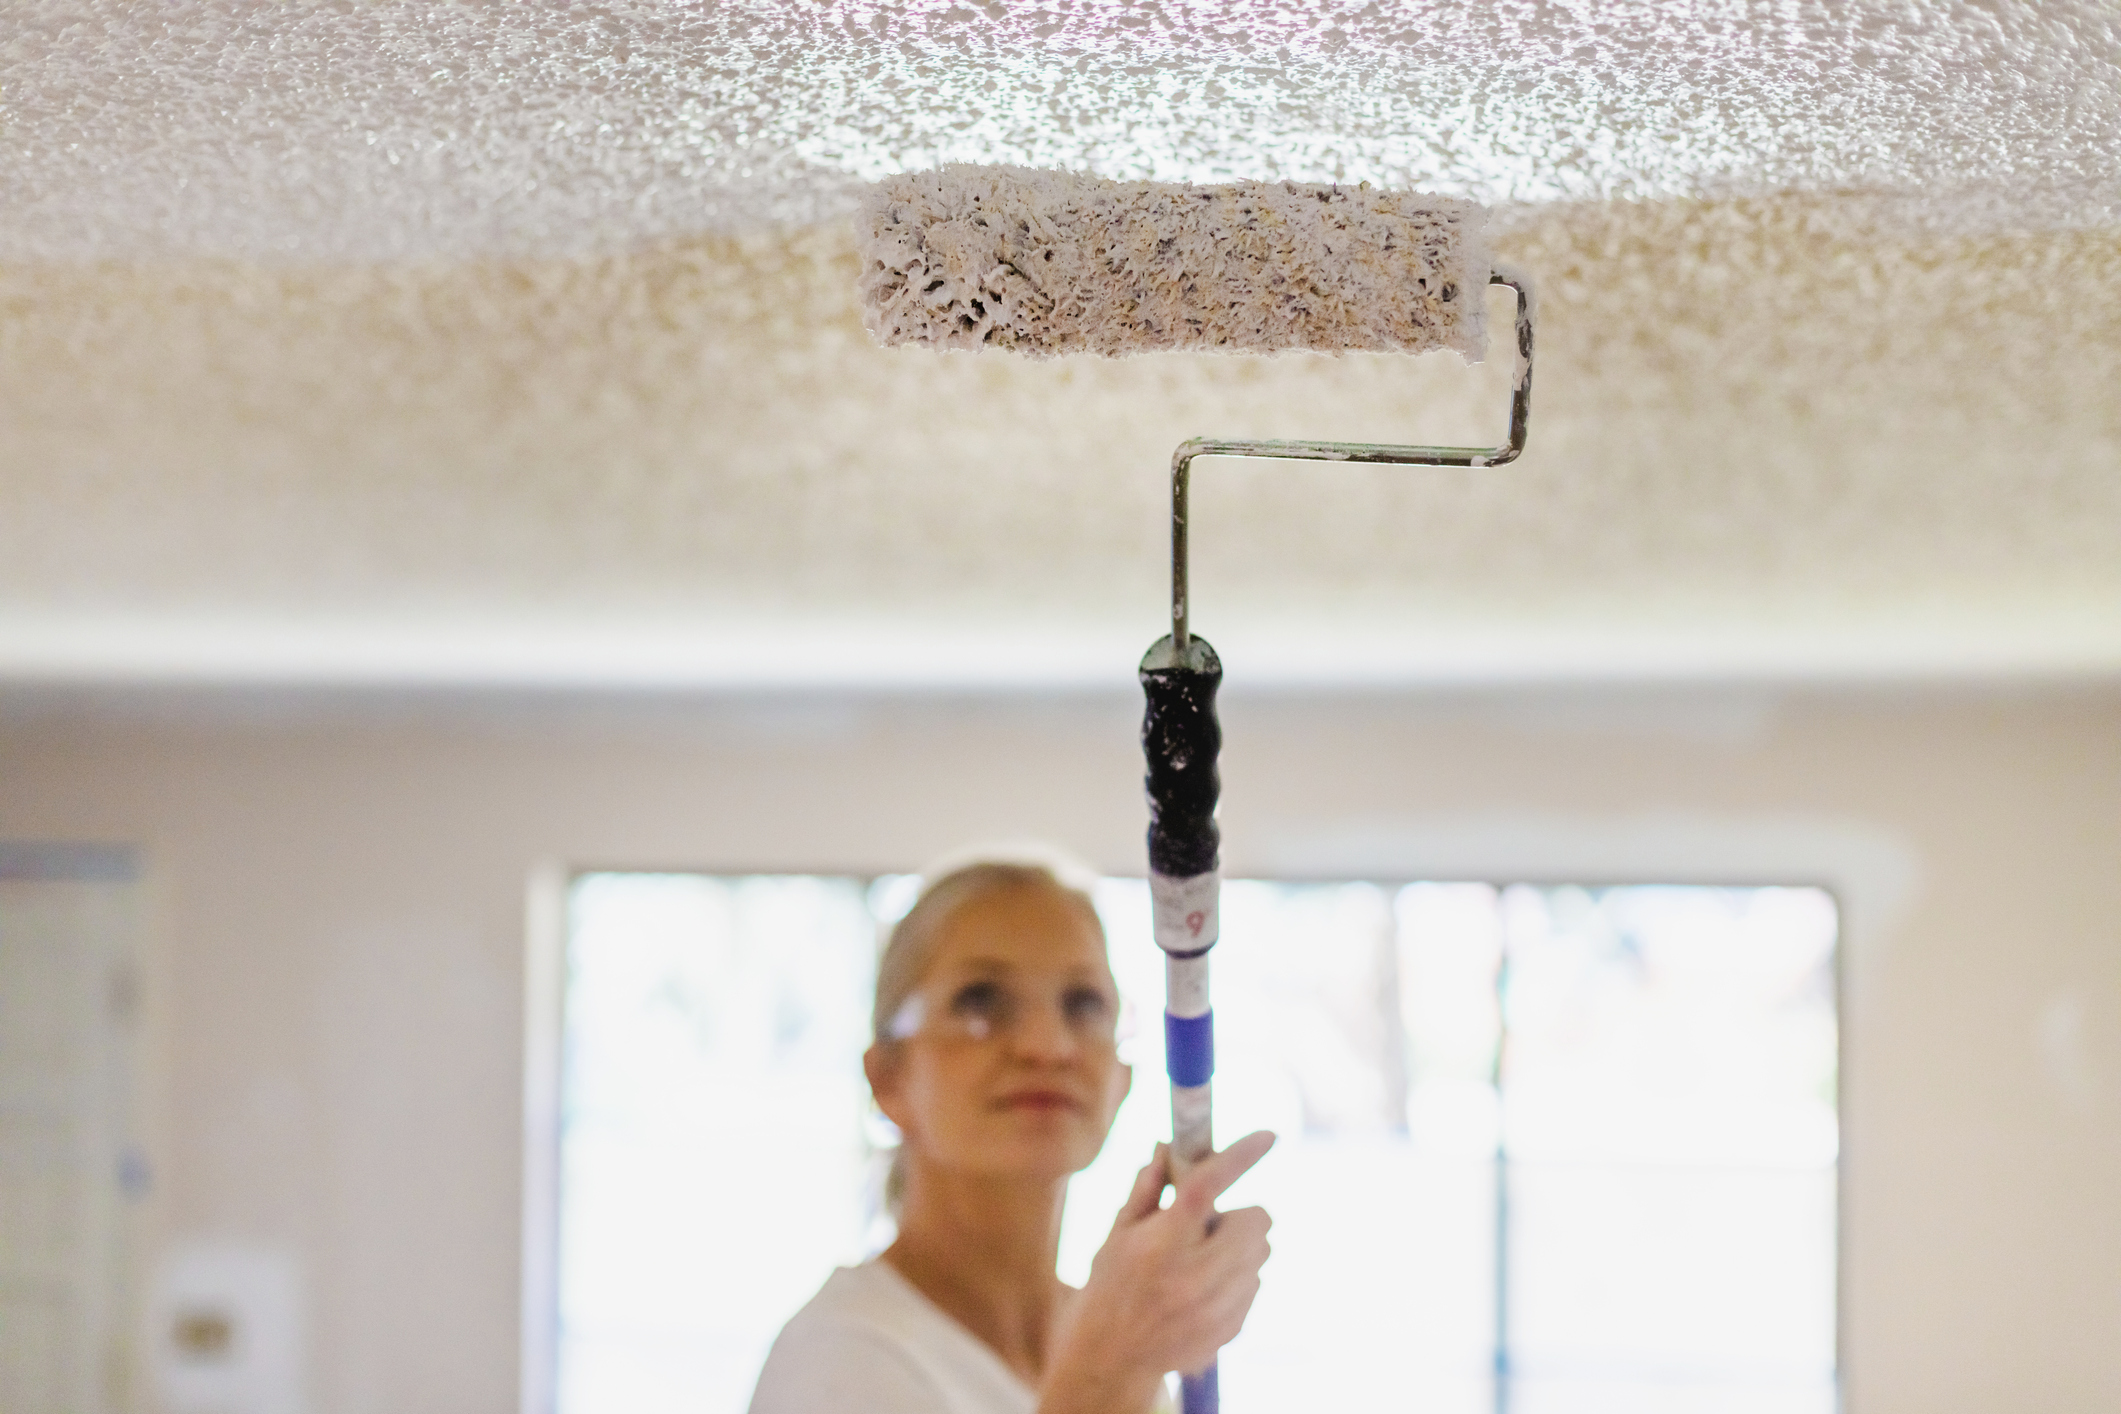
- Popcorn Ceiling:** A classic, rough-textured ceiling that's easy to install and maintain.
- Orange Peel:** A style that resembles the peel of an orange, offering a unique, bumpy texture.
- Knockdown Ceiling:** A style that features a smooth, flat surface with subtle contours.
- Fan Ceiling:** A style that creates a fan-like texture, often used in decorative applications.
- Rosebud Ceiling:** A style that features small, rounded bumps, mimicking the appearance of rose petals.
- Stomp Brush Ceiling:** A style that features a unique, diamond-shaped texture created by stamping or "stomping" a brush into the ceiling.

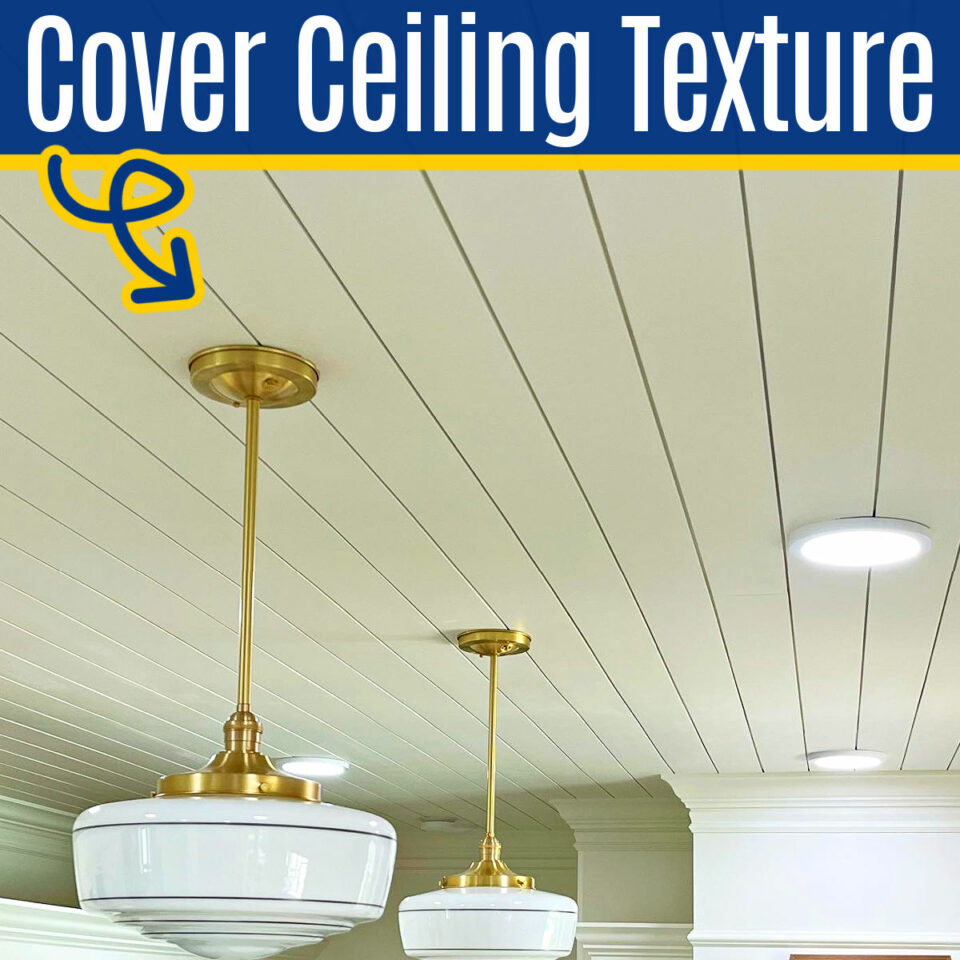
Furthermore, visual representations like the one above help us fully grasp the concept of Textured Ceiling Upgrade.
Installing a textured ceiling is a DIY-friendly task that requires some patience and planning. If you're new to textured ceilings, consider hiring a professional to ensure a flawless installation. Here are some expert tips:
- Choose the right material:** Select a suitable textured ceiling material, such as drywall, paint, or stucco, based on your desired design and maintenance needs.
- Prepare the surface:** Ensure the ceiling surface is clean and dust-free before installation.
- Use the right tools:** Invest in a texture gun, trowel, or applicator, depending on the style you've chosen.
- Work in sections:** Divide your ceiling into sections and complete each one at a time to maintain a smooth, even texture.
- Smooth out the surface:** Once you've completed the installation, smooth out the surface with a putty knife or sanding block to achieve a seamless finish.
- Seal the surface:** Apply a coat of paint or sealant to protect your textured ceiling and extend its lifespan.
Common Challenges and Solutions
Such details provide a deeper understanding and appreciation for Textured Ceiling Upgrade.
Yes, textured ceilings require extra care and attention, but they're not without their challenges. Here are some common issues and solutions:
- Shrinkage and movement:** Use a specialized primer to minimize shrinkage and movement of the ceiling when it settles.
- Cracks and holes:** Fill cracks and holes with joint compound and sand them smooth.
- Texture popping:** Apply a texture-repair compound to fix texture popping issues and blend it with the surrounding surface.
Conclusion
A textured ceiling upgrade is a simple and cost-effective way to transform any room and elevate its style. From popcorn ceilings to stomp brush and beyond, the options are endless. With the benefits, popular styles, and expert tips outlined in this article, you're ready to take the leap and create a unique, captivating ceiling that complements your space and boosts its resale value.


