Do It Yourself Acoustic Panels: A Comprehensive Guide to Improving Your Room's Audio Quality
Are you tired of echoing and reverberating soundscapes in your home studio, recording space, or home theater? Do you want to upgrade your sound quality without breaking the bank? Look no further! With DIY acoustic panels, you can create a compliant environment for recording, listening, or working in a noisy space. In this article, we'll guide you through the process of building DIY acoustic panels and provide you with the necessary tools and materials for a fraction of the cost of commercial products.Understanding How DIY Acoustic Panels Work
Before we dive into the DIY process, let's explore the fundamental principles behind acoustic panels. Acoustic panels are designed to absorb sound waves by applying a thick, porous material to a rigid substrate. This helps to minimize reflections and reverberations, resulting in a more accurate sound experience. The material and shape of the panel play a crucial role in its effectiveness. With the right combination of components and placement, DIY acoustic panels can make a significant difference in the sound quality of your space.Choosing the Right Materials
For DIY acoustic panels, you'll need the following materials: *- Acoustic fabric (burlap, Guilford of Maine, or cheap fabric)
- Thick foam or open-cell insulation (such as Owens Corning 703 or Roxul Safe'n'Sound)
- Wood or MDF backing board
- 1/2" plywood or oriented strand board (OSB) for the panel core
- Wood screws or nails
- Humidity-resistant glue
- Velcro or 3M Command Strips for hanging
Creating Your DIY Acoustic Panels
Measure and Cut the Backing Board
Measure and cut the 1/2" plywood or OSB to the desired panel size (we recommend 24" x 48"). 2.Attach the Insulation
Cut the thick foam or open-cell insulation to the same size as the backing board, and attach it using a hot glue gun or humidity-resistant glue. 3.Attach the Acoustic Fabric
Place the acoustic fabric over the insulation and staple or nail it in place. 4. Attach the backing board to the panel core using wood screws or nails. 5.Finishing Touches

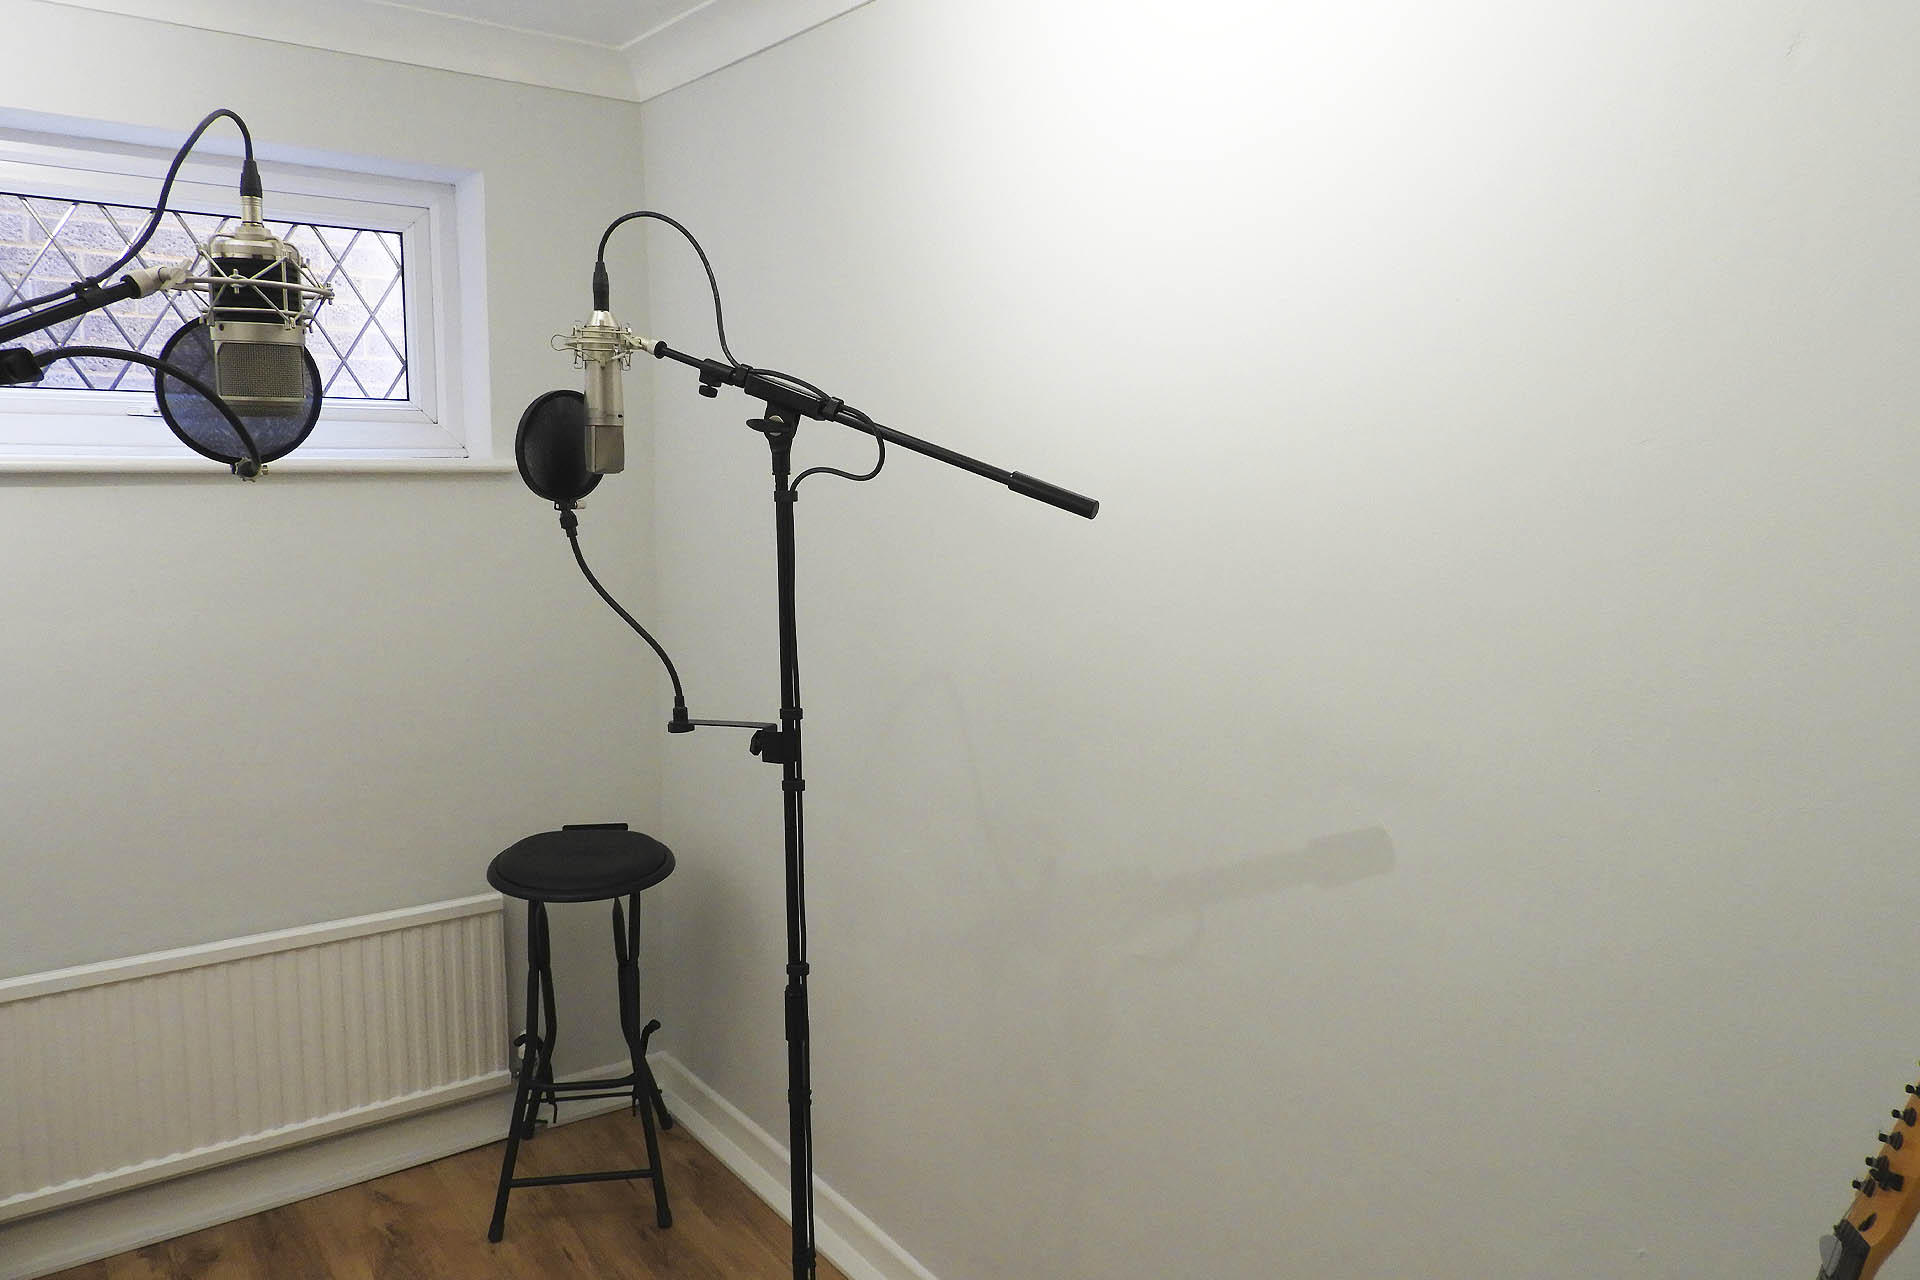
Strategic Placement
Once you've created your DIY acoustic panels, it's essential to place them strategically in your space. Here are some tips: * Place panels directly on walls, ceilings, or floors to absorb sound waves. * Position panels in corners to address multi-directional reflections. * Hang panels near speakers, instruments, and monitors to address direct sound reflections. * Use a combination of large and small panels to address different frequency ranges.Benefits of DIY Acoustic Panels
Creating DIY acoustic panels has numerous benefits: *- Cost-effective
- DIY kits available online
- Customization options
- Increased sound quality
- Reduced echo and reverberation


 - YouTube")

 - Quiet Home Life")


 - acousticsfreq.com")

")

 - Quiet Living")


